I wrote this WIP for Bladeforums and Knife Dogs, and I thought it would be nice to permanently place it on my site. This page follows how I went about lining my forge. There are several ways to skin this cat, so take this for what it is: the way I went about lining my forge. I intend this for informational purposes only.
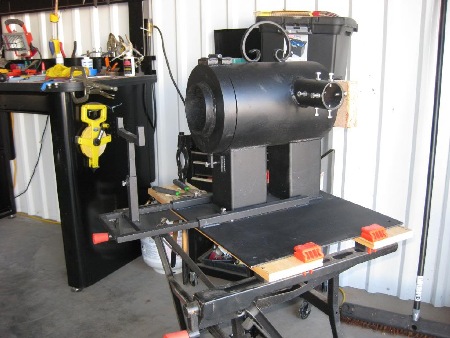
This is the Ellis 8-HT horizontal forge made by Darren Ellis. It's built like a tank, and it looks better and will probably last longer than anything I could have put together.
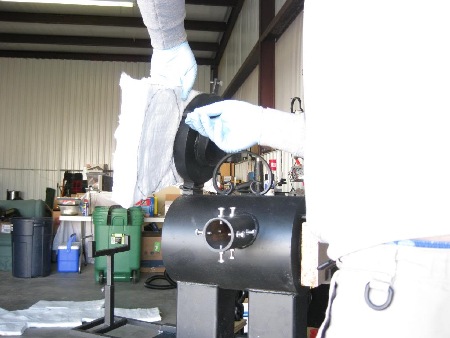
I started by cutting out the Inswool to line the forge. Inswool is a high temperature alumina-silica fiber blanket that is an excellent insulator. It is an irritant, so wear gloves and a respirator when working with it. Also, it needs a top coat, as above 1600F, it releases free silicates which are bad news to breathe.
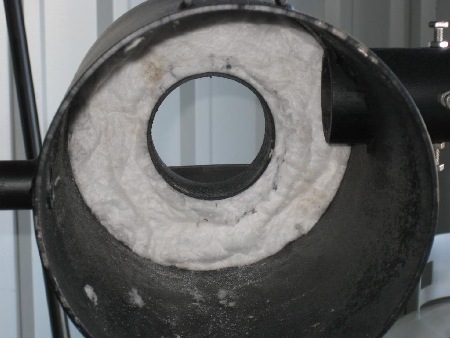
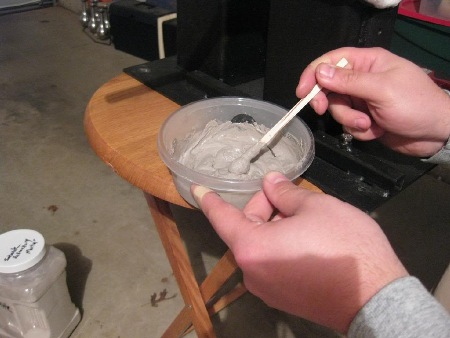
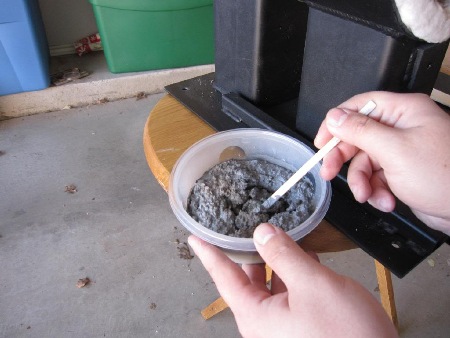
For the top coat, I used satanite, which is a reasonably priced refractory coating rated up to 3200F. It is also great in that the left overs can be mixed up as needed for claying blades or as a thin wash to coat carbon steels to prevent oxidation/decarb during heat treating. To line the forge, I mixed up the satanite with water to a consistency of sour cream.
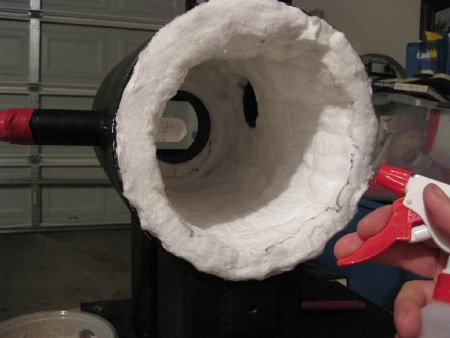
To help the satanite stick, I lightly misted the inswool with water.
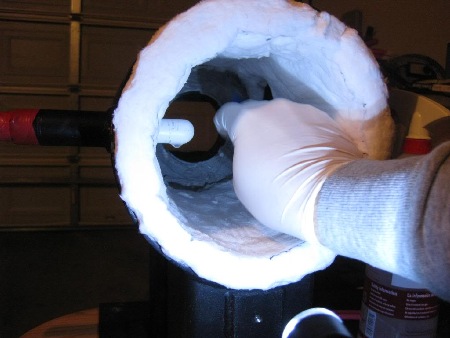
And then I applied the satanite with a paint brush. I had to be careful not to pull the inswool apart.
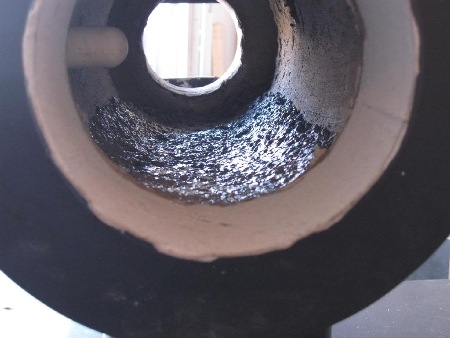
I applied two layers of satanite, letting the refractory dry a day between coats with a fan blowing gently through the forge body. I wanted about 3/16-1/4" of satanite.
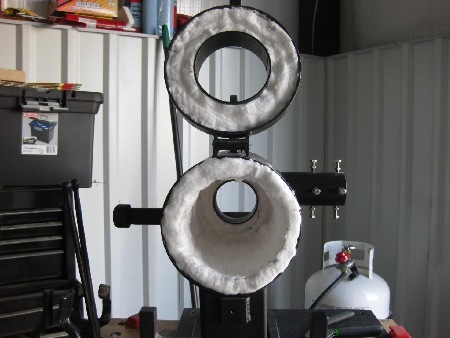
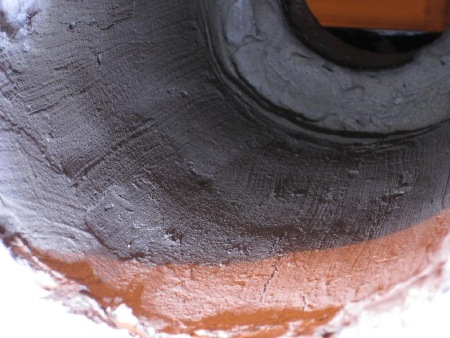
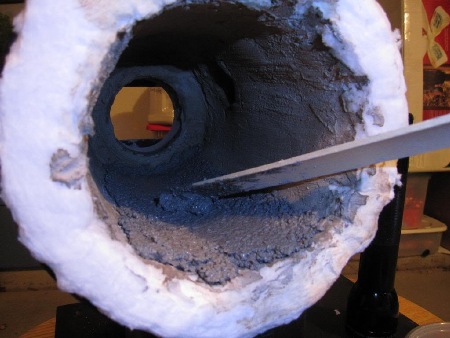
Next, I mixed up some mizzou castable refractory. You can actually make an entire forge out of a poured cylinder of mizzou, but it's a good idea to wrap that in inswool to help with insulation, and they can take a while to get up to temperature. Mizzou is a high alumina castable that resists flux very well. And as this forge will be seeing flux (for forge-welding) at some point, I made a floor of mizzou to protect it. I mixed it up to a troweling consistency, and then applied it with a paint stir-stick. I layed a 1/2" layer following the contour of the forge body and going up about 1/3 of the inside chamber. After the mizzou was down, I closed the forge and used more satanite to seal the inside door seam and any other cracks/spots I could see.
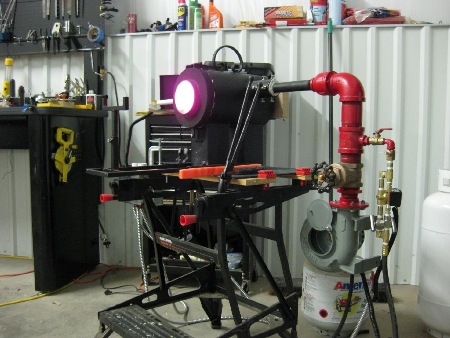
After the mizzou had dried for a solid day, I took the forge, installed the burner, and fired it up. I took it up to temperature slowly with several progressively hotter firings, letting the forge cool slowly between. This allows any leftover moisture to escape slowly instead of explosively. After the intial heats, I fired it up to temperature and let it run for about an hour to help cure the lining. And now, I'm ready to hammer some steel!
For more on my PID controled 2-stage propane set-up, look HERE.