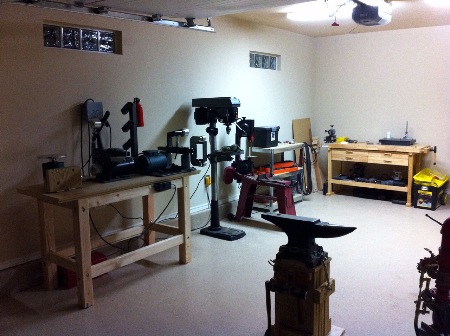
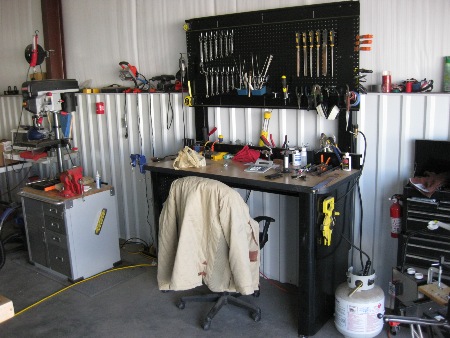
This area is to show some pictures of the tools I use to craft my knives and even some in-progress pictures that I've snapped along the way. I've consolidated my shop into a third-car garage at my house. We ended up moving farther away from my large shop building, so in order to have any reasonable production ability, the move to a smaller but immediately close space made sense. The first two pictures show the new "shop" space while later pictures show some of the tools I've used over the years.
It's no fun to live without a good work bench and a drill press. Ask me how I know. Well, now that's taken care of. This shot includes my old 10" Delta Shopmaster drill press:
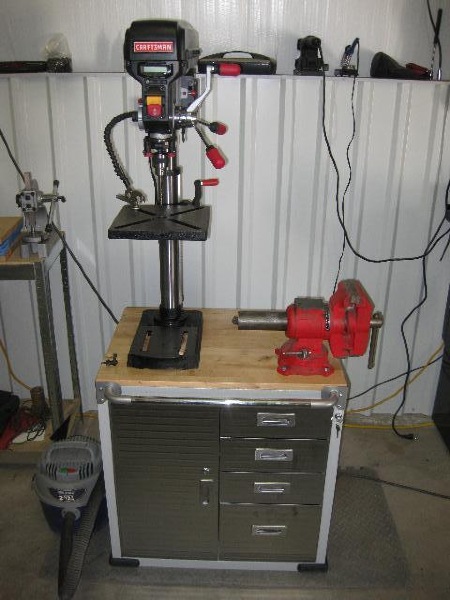
Since then, I have been able to upgrade to a 12" Craftsman on a new cabinet/stand:
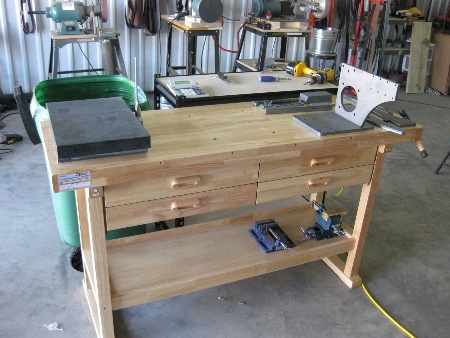
Here's my primary work bench:
And this is a recent addition which I am using for a layout/assembly bench for larger projects. You can see a new 2x72" grinder that's beeing assembled on the table. It's an EERFF grinder developed on Bladeforums and will take the tooling arms from my KMG. It will be 2hp variable speed:
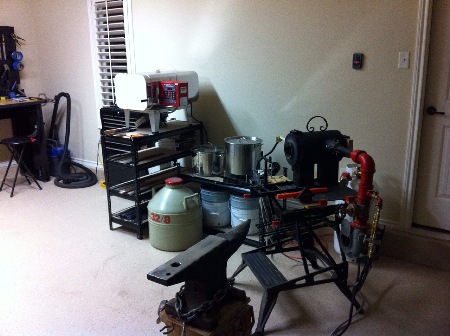
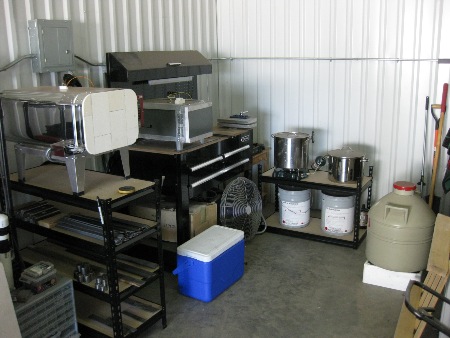
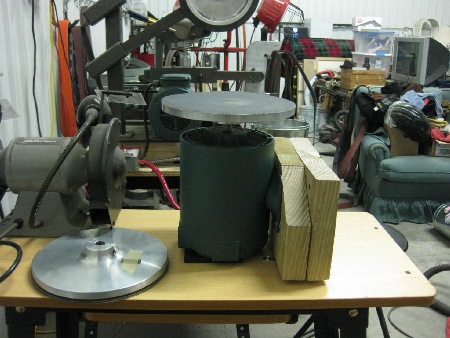
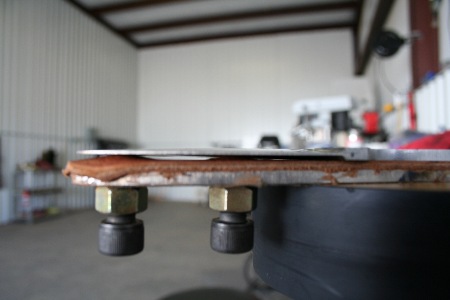
This is the area where my heat treating takes place, one of the most critical aspects of making a knife. Pictured from left to right: my 22.5" Evenheat oven, my home built digital oven, 1" aluminum quenching plates for air hardening steels, Park's #50 and AAA quenching oils, and my liquid nitrogen dewar. In the cooler on the floor is vermiculite to perform lamellar anneals:
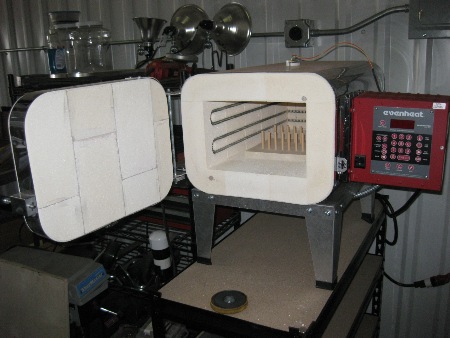
This is my Evenheat digital heat treating oven. It can reach and hold any temperature up to 2000F and is programmable for up to 32 steps including ramp rates and soak times:
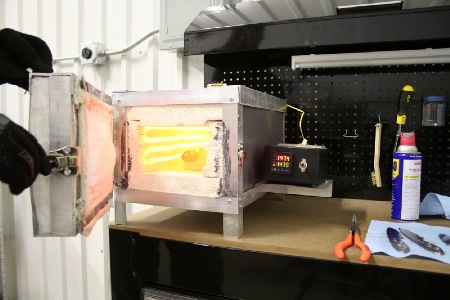
This is my home built oven which I used exclusively before getting the new oven. Here it is holding an O1 blade at 1475F:
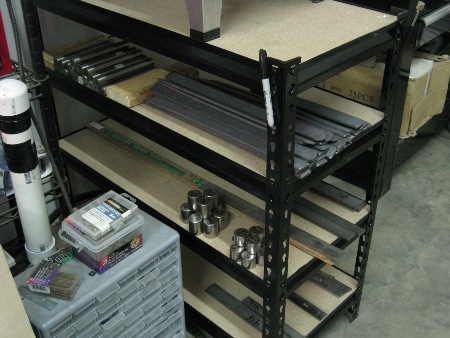
Underneath my heat treating oven, I store my steel. Here you can see W1, W2, O1, 1084, 52100 bearings, Cruforge V, 440C, and CPM154 along with some 416SS for fittings:
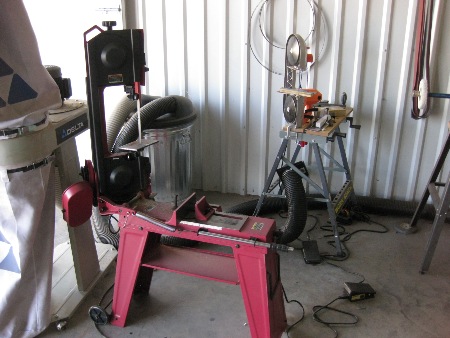
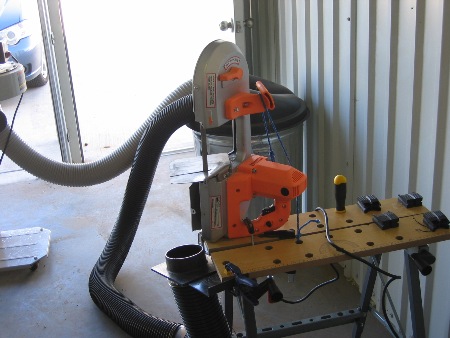
Here is my 4x6" horizontal/vertical bandsaw along with my portaband in a vertical stand:
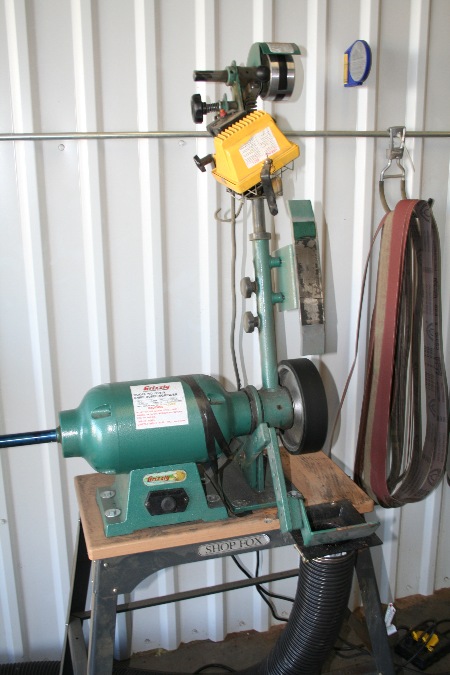
My old workhorse, the Grizzly 2x72" belt grinder. It runs fast, tracks poorly, and has a bad attitude, but I've made plenty of knives with it:
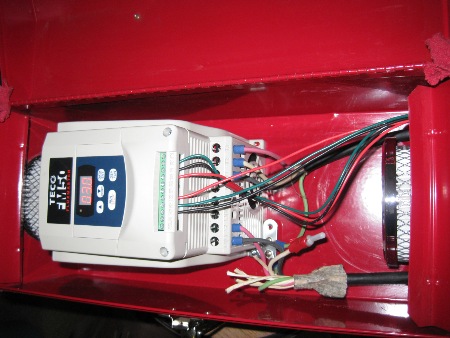
My new workhorse, the KMG made by Beaumont Metal Works, one of the absolute best grinders available for knife makers on the market. I've waited 5 years for this piece of equipment. It's set up with a 2 hp TEFC 3400 rpm 3 phase motor. It's controlled by a Teco FM50 2 hp VFD with remote controls for variable speed, forward, reverse, and stop:
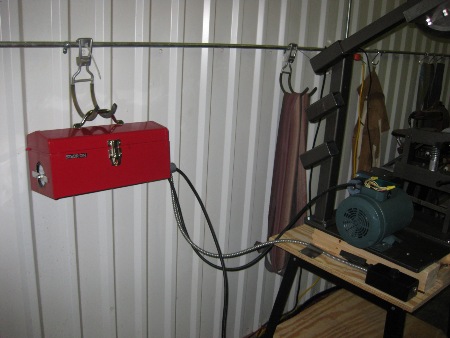
Since the Teco drive is not wash down rated or even dust resistant, I built a clean box with filtered air and water tight wire glands to keep it safely running for a long time. I'll eventually be building a switching box with multiple change over cam switches to feed the TECO 3 phase output between 3-4 grinders:
Here is a brief youtube demo video of the grinder running.
The 10" wheel can be used for rough profiling, cleanup, or hollow grinding:
I mounted the small wheel to the same tooling arm as the 10". The 1" wheel here is very handy for cleaning up the inside radiuses of handles as well as shaping guards:
And the flat platen is used for any number of purposes, especially for flattening stock and flat grinding bevels:
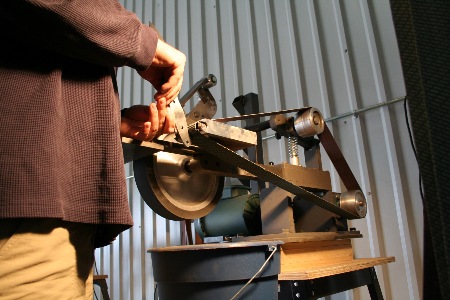
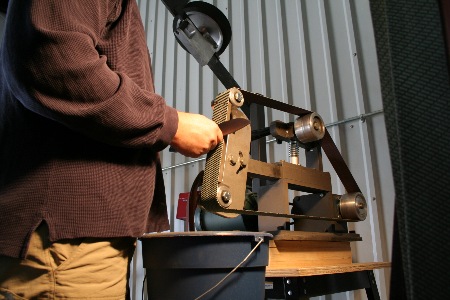
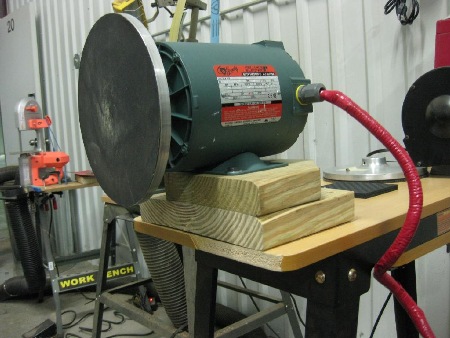
Here is my new 3/4 hp disc grinder. I have a flat and a beveled disc from Beaumont Metal Works depending on what I am doing. I mounted the motor on blocks to raise it to a comfortable height, and the entire setup is hinged to allow for a vertical work position as well. The disc grinder is switched into my KMG's VFD and is fully variable in speed in both forward and backward directions:
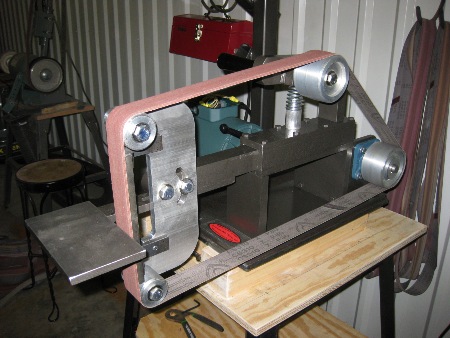
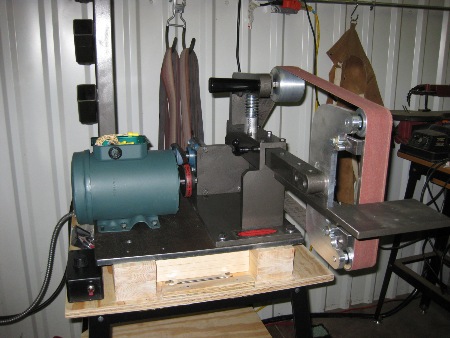
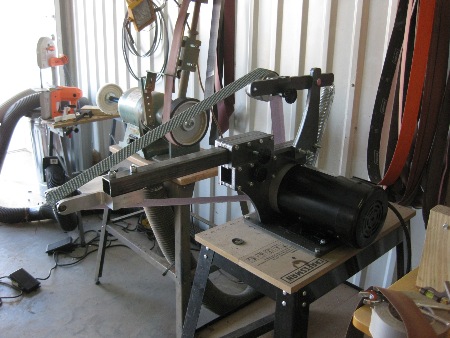
This is my new grinder built from the open source EERF design put together on Bladeforums. It's using an 1800 rpm 2 hp motor switched to my TECO FM50 which runs all of my variable speed grinders. This grinder uses my KMG attachments and will be set up with my large and small wheels.
This is my forging area:
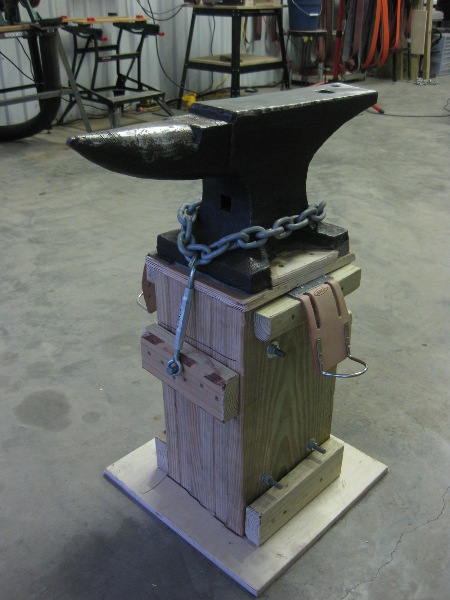
This is my Hay Budden 148 pound anvil. It's somewhere over 80 years old and still going strong. A few chips on the corners, but a great face for a well used old-American anvil. It's tied down with heavy chain to a custom stand and is sitting on a bed of general purpose silicone that, combined with the chain, dampens the ring considerably:
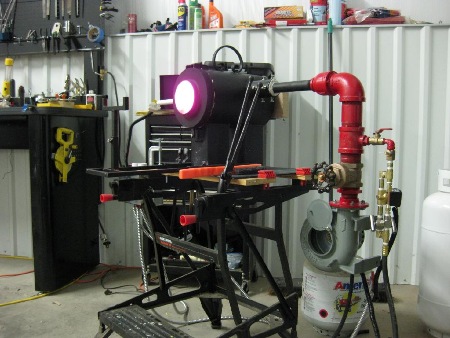
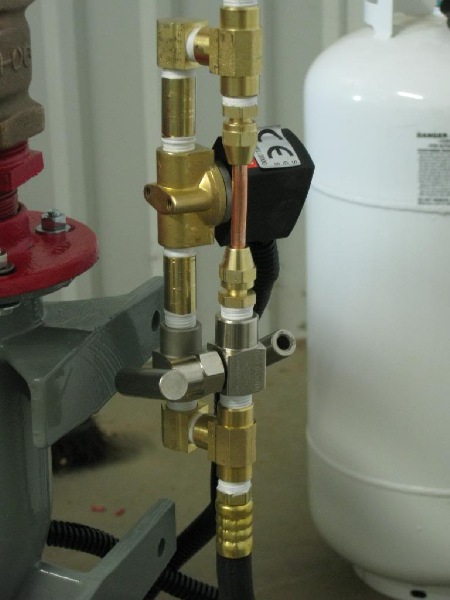
This is my PID controlled two stage propane forge. The body of the forge was built by Darren Ellis, and the PID / gas control is based off of a design by Stacy Apelt. This forge has tight control and will hold temperature within a narrow range. With the 160cfm blower, it has no trouble reaching welding temps. Click HERE for an overview of how I lined the forge and HERE for more details as to the PID / gas control:
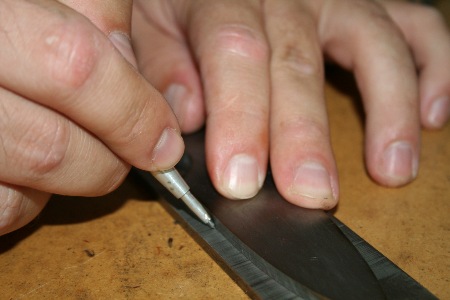
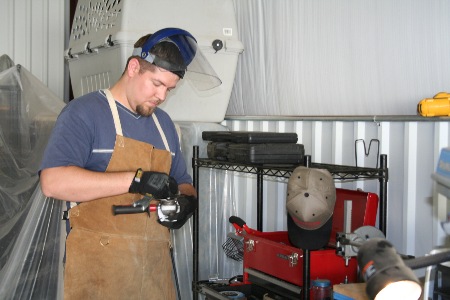
Here's some action shots. First I scribe my pattern onto a piece of bar stock from a pattern I ground out earlier:
Scribe the center line:
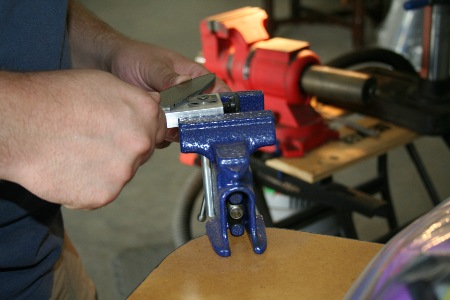
And begin the grind with a 45 degree bevel to knock the edge off and save belt life:
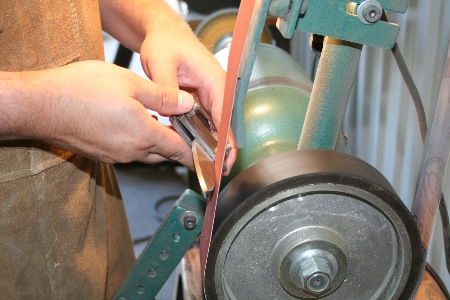
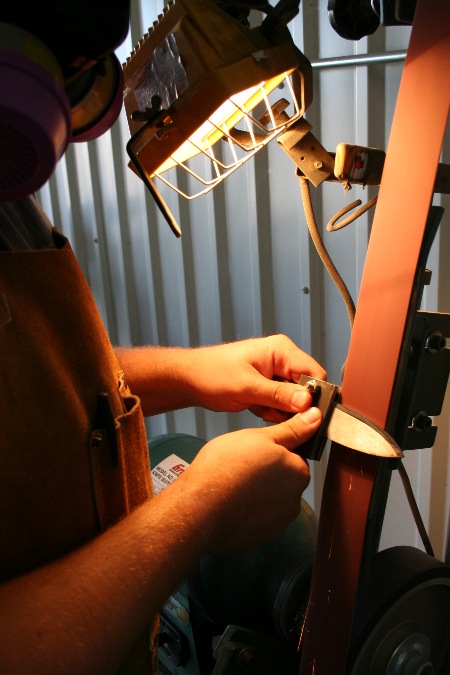
I grind using a set of home-made guides that I clamp on the blade to assist with the plunge on the Grizzly as it has belt tracking issues. A plus is that they give me something to hold on to and give me a bit of buffer from the heat produced while grinding. Here I'm walking the bevel up the blade towards the spine:
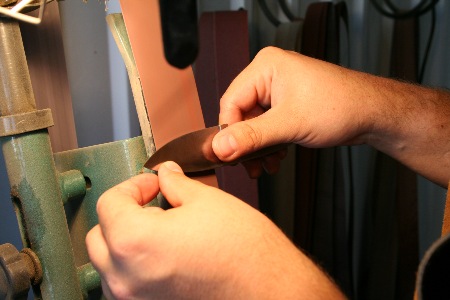
Almost done:
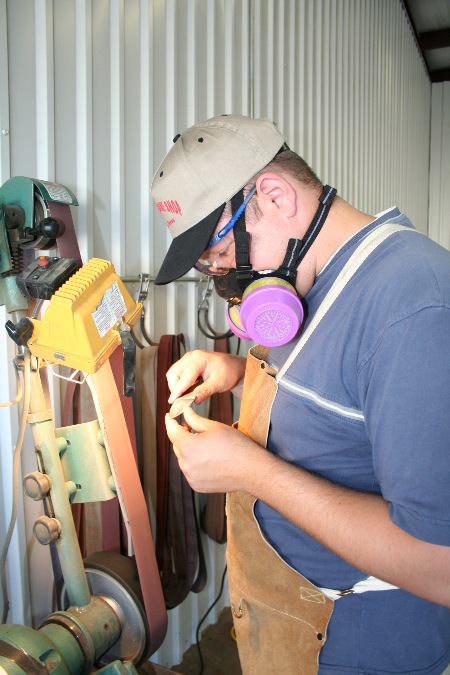
Checking out the results:
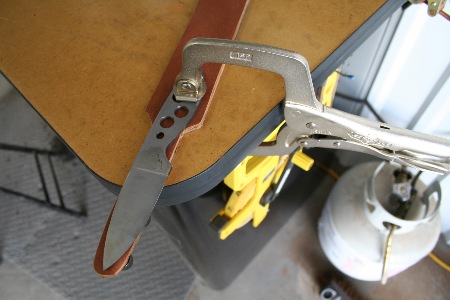
Almost all of my knives receive a hand finish. I use this rig to support the blade during hand sanding. It has set screws that screw in from the bottom to support the blade throughout its taper: